“DNS Server Not Responding” Fix: Internet Connected But Can’t Browse?
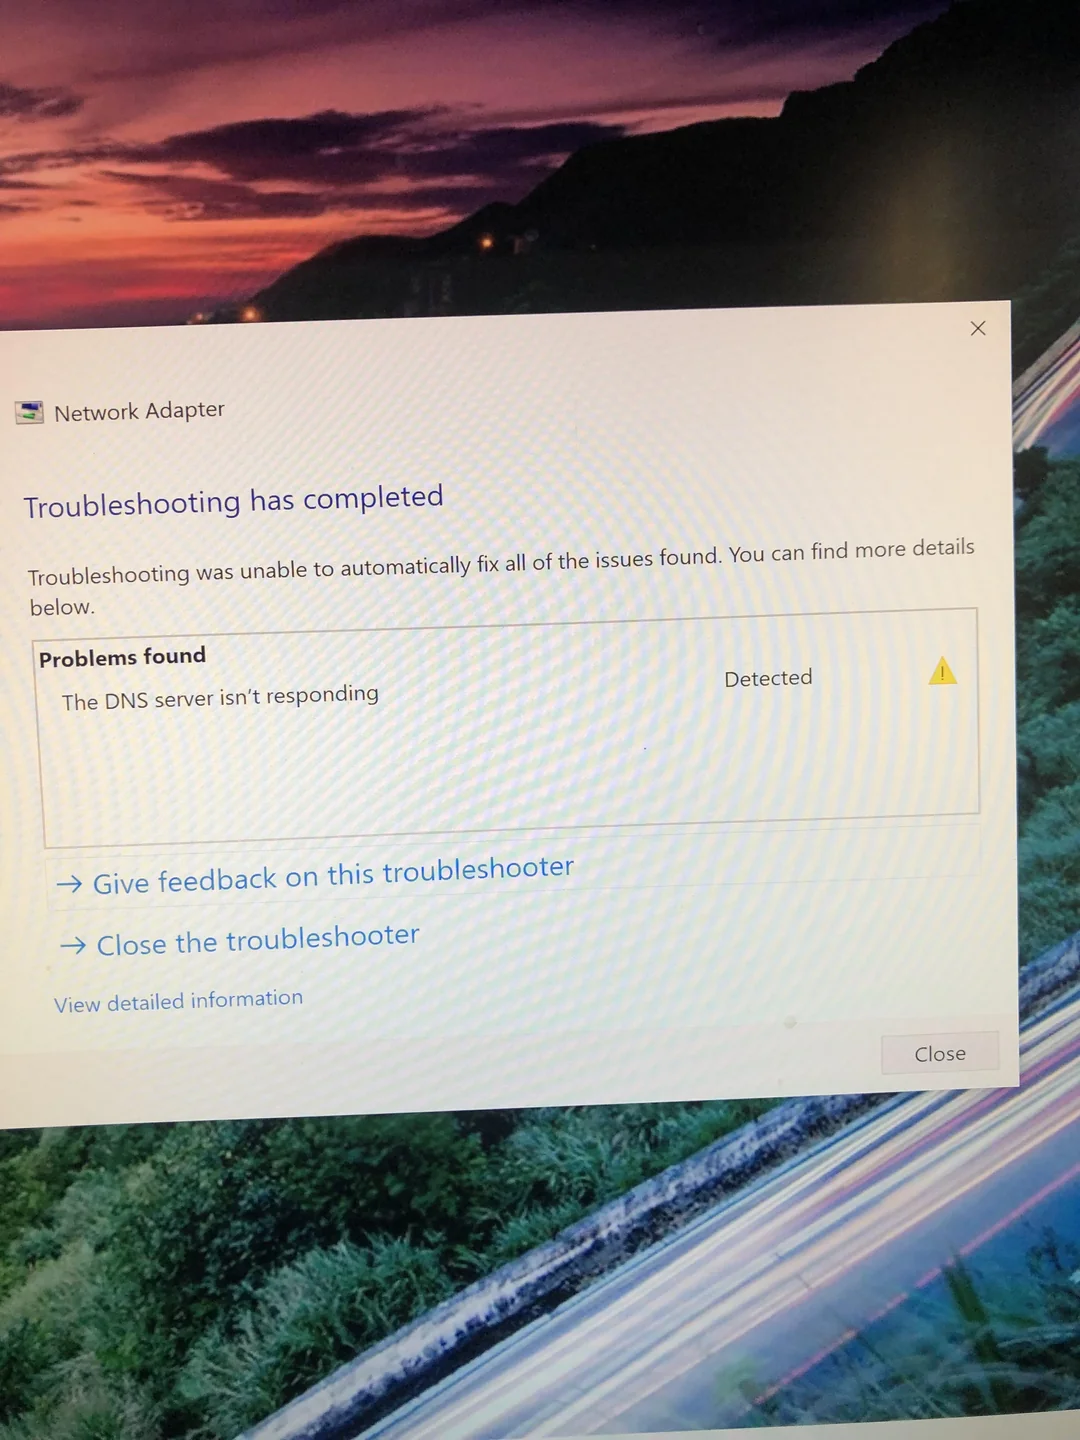
You are connected to WiFi. YouTube might even be playing. But when you try to open a new website, it loads forever and says “This site can’t be reached.” Windows Troubleshooter gives you the cryptic error: “The DNS Server is not responding.”
Most people restart their router. That rarely fixes it permanently. The problem is that your ISP’s Default DNS (Domain Name System) is slow, overloaded, or crashing.
Here is how to bypass your ISP’s broken phonebook and switch to a faster, global standard (Google or Cloudflare) in 3 minutes.
Our Analysis / Expert Opinion
At TechReal Repair, we advise every single customer to stop using their Internet Provider’s default DNS settings immediately.
The “Phonebook” Reality: Think of DNS as the internet’s phonebook. When you type facebook.com, your computer asks the DNS for the IP address (like 157.240.22.35).
-
ISP DNS: Cheap, slow, and often tracks your history. It crashes during peak hours (8 PM – 10 PM).
-
Public DNS (Google/Cloudflare): Enterprise-grade, encrypted, and incredibly fast.
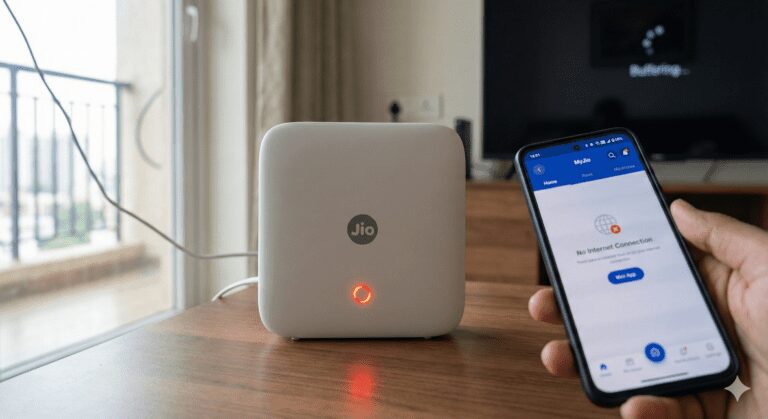
Our Speed Test Result: We tested a standard JioFiber connection.
-
Default DNS Response Time: 68ms
-
Cloudflare (1.1.1.1) Response Time: 14ms Verdict: Changing this setting doesn’t just fix the error; it makes your entire browsing experience noticeably snappier.
Fix 1: The “Manual Override” (Change to Google DNS)
This is the permanent fix. We will force your computer to ignore the router’s suggestions and use Google’s servers instead.
-
Open Settings: Press
Windows Key + R, typencpa.cpl, and hit Enter. -
Select Adapter: Right-click your WiFi or Ethernet adapter > Properties.
-
Find Protocol: Double-click on Internet Protocol Version 4 (TCP/IPv4).
-
The Switch:
-
Change “Obtain DNS server address automatically” to “Use the following DNS server addresses”.
-
-
Enter These Numbers (Google DNS):
-
Preferred:
8.8.8.8 -
Alternate:
8.8.4.4 -
(Or use Cloudflare:
1.1.1.1and1.0.0.1)
-
-
Click OK.
Fix 2: The “Flush” Command (Clear Corrupt Cache)
Sometimes your computer remembers the wrong address for a website. You need to wipe this memory.
-
Open CMD: Search “Command Prompt” > Run as Administrator.
-
Copy & Paste this command and hit Enter:
ipconfig /flushdns
-
Result: You should see “Successfully flushed the DNS Resolver Cache.”
-
Restart Chrome/Edge and try the website again.
Fix 3: Disable IPv6 (The “Conflict” Fix)
Modern routers try to use a newer protocol called IPv6. Many older websites (and some Indian ISPs) struggle to handle this translation, causing “Timeouts.”
-
Go back to Network Connections (
ncpa.cpl). -
Right-click your Adapter > Properties.
-
Uncheck the Box next to “Internet Protocol Version 6 (TCP/IPv6)”.
-
Click OK.
-
Why: This forces your computer to use the rock-solid IPv4 standard, which is much more stable for home browsing.
-
Fix 4: Chrome “Secure DNS” Setting
If Windows is fixed but Chrome still shows errors, Chrome might be trying to use its own internal DNS.
-
Open Chrome Settings (3 dots top right).
-
Go to Privacy and security > Security.
-
Scroll down to “Use Secure DNS”.
-
Toggle it ON.
-
Select “With: Google (Public DNS)”.